
Climbing spikes
Time, quality, price – pick two.

The well known saying of “time, quality and price - pick two” has been a phrase featuring a lot in my life in this last year. Climbing spikes are no exception. I chose quality and price.

Climbing with ropes is the kind of climbing I’ve tended to do a lot of whilst at treeschool. Mostly because climbing with ropes causes little, if any, damage to the tree but also because dismantling and removal is a second year thing and I am a first year. However, climbing with ropes is not the only way to ascend a tree.
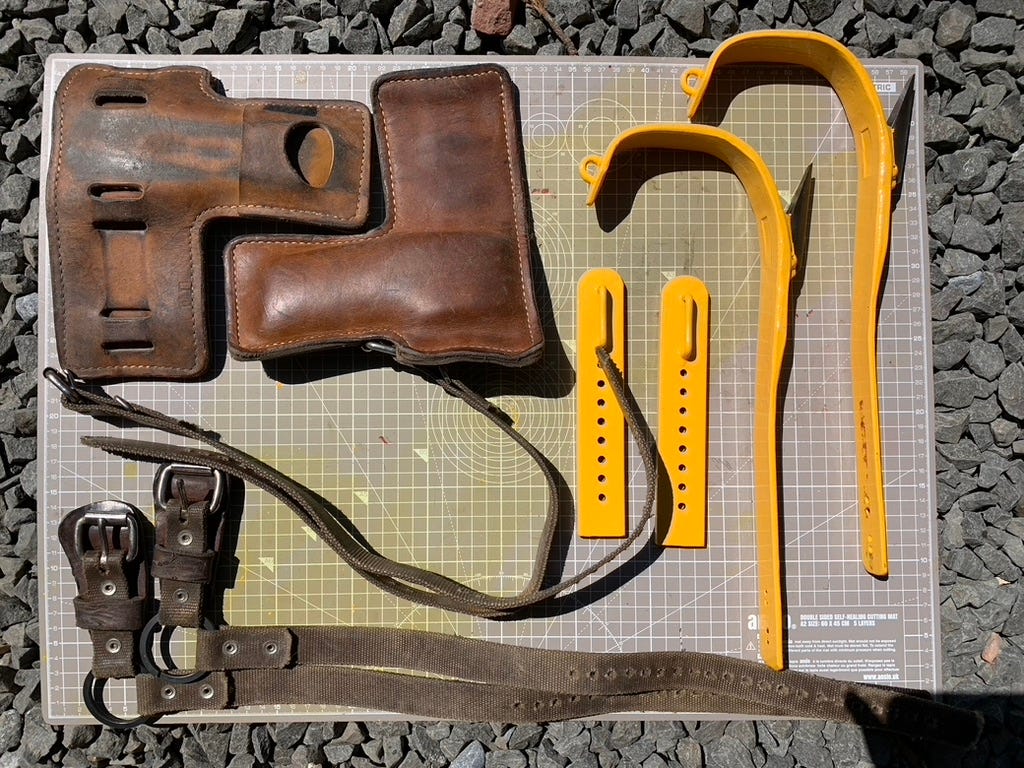
If you watch a lot of arborist videos on YouTube (my personal information addiction) then you’ll notice that lot of the US and Canadian climbers use climbing spikes. Here’s some climbing spikes. They are mine and I purchased them off Ebay, second hand for the price of £88.42.
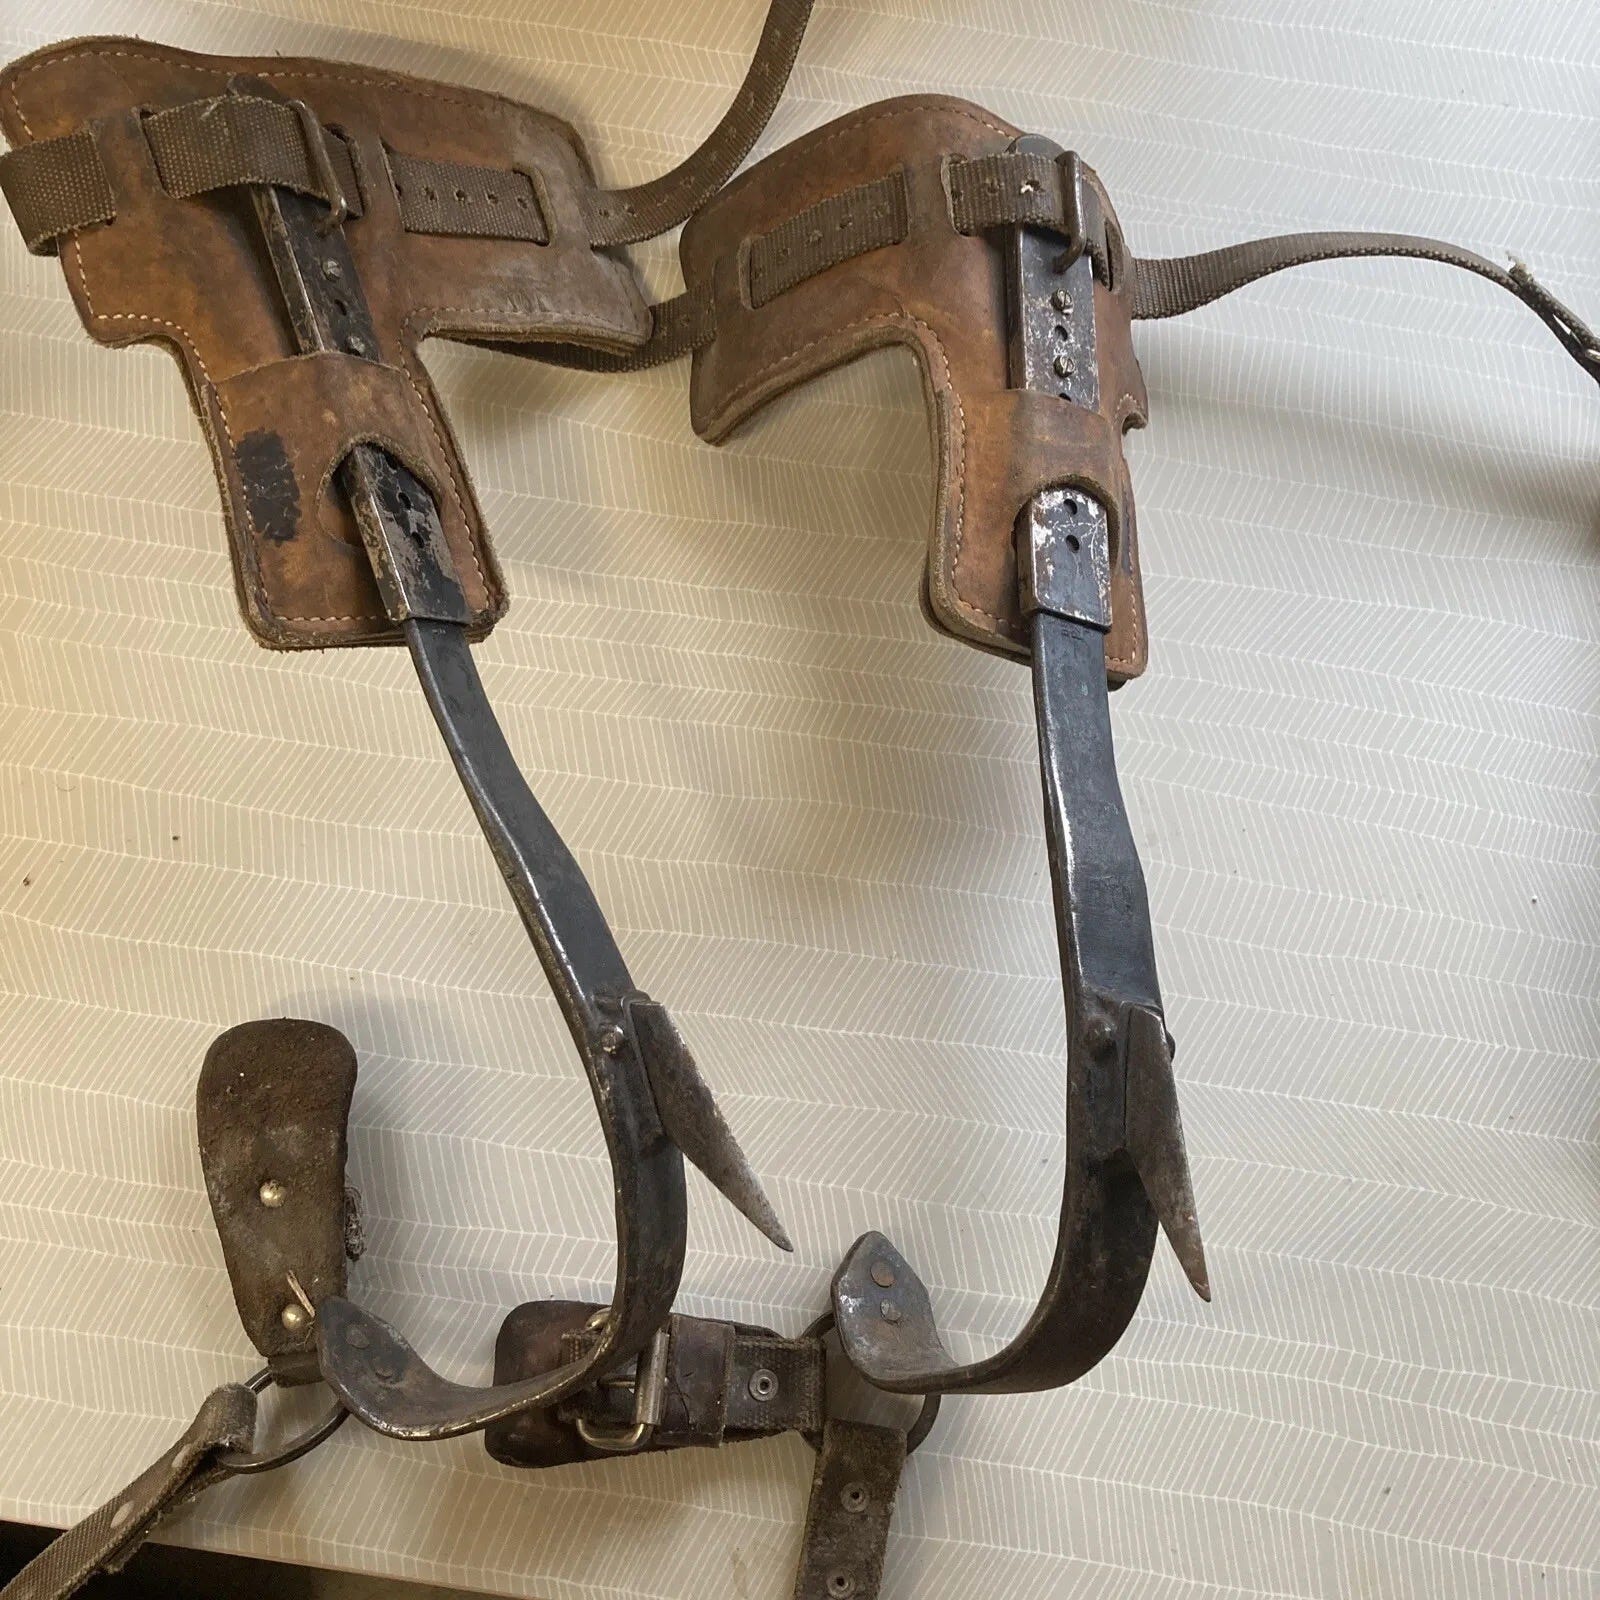
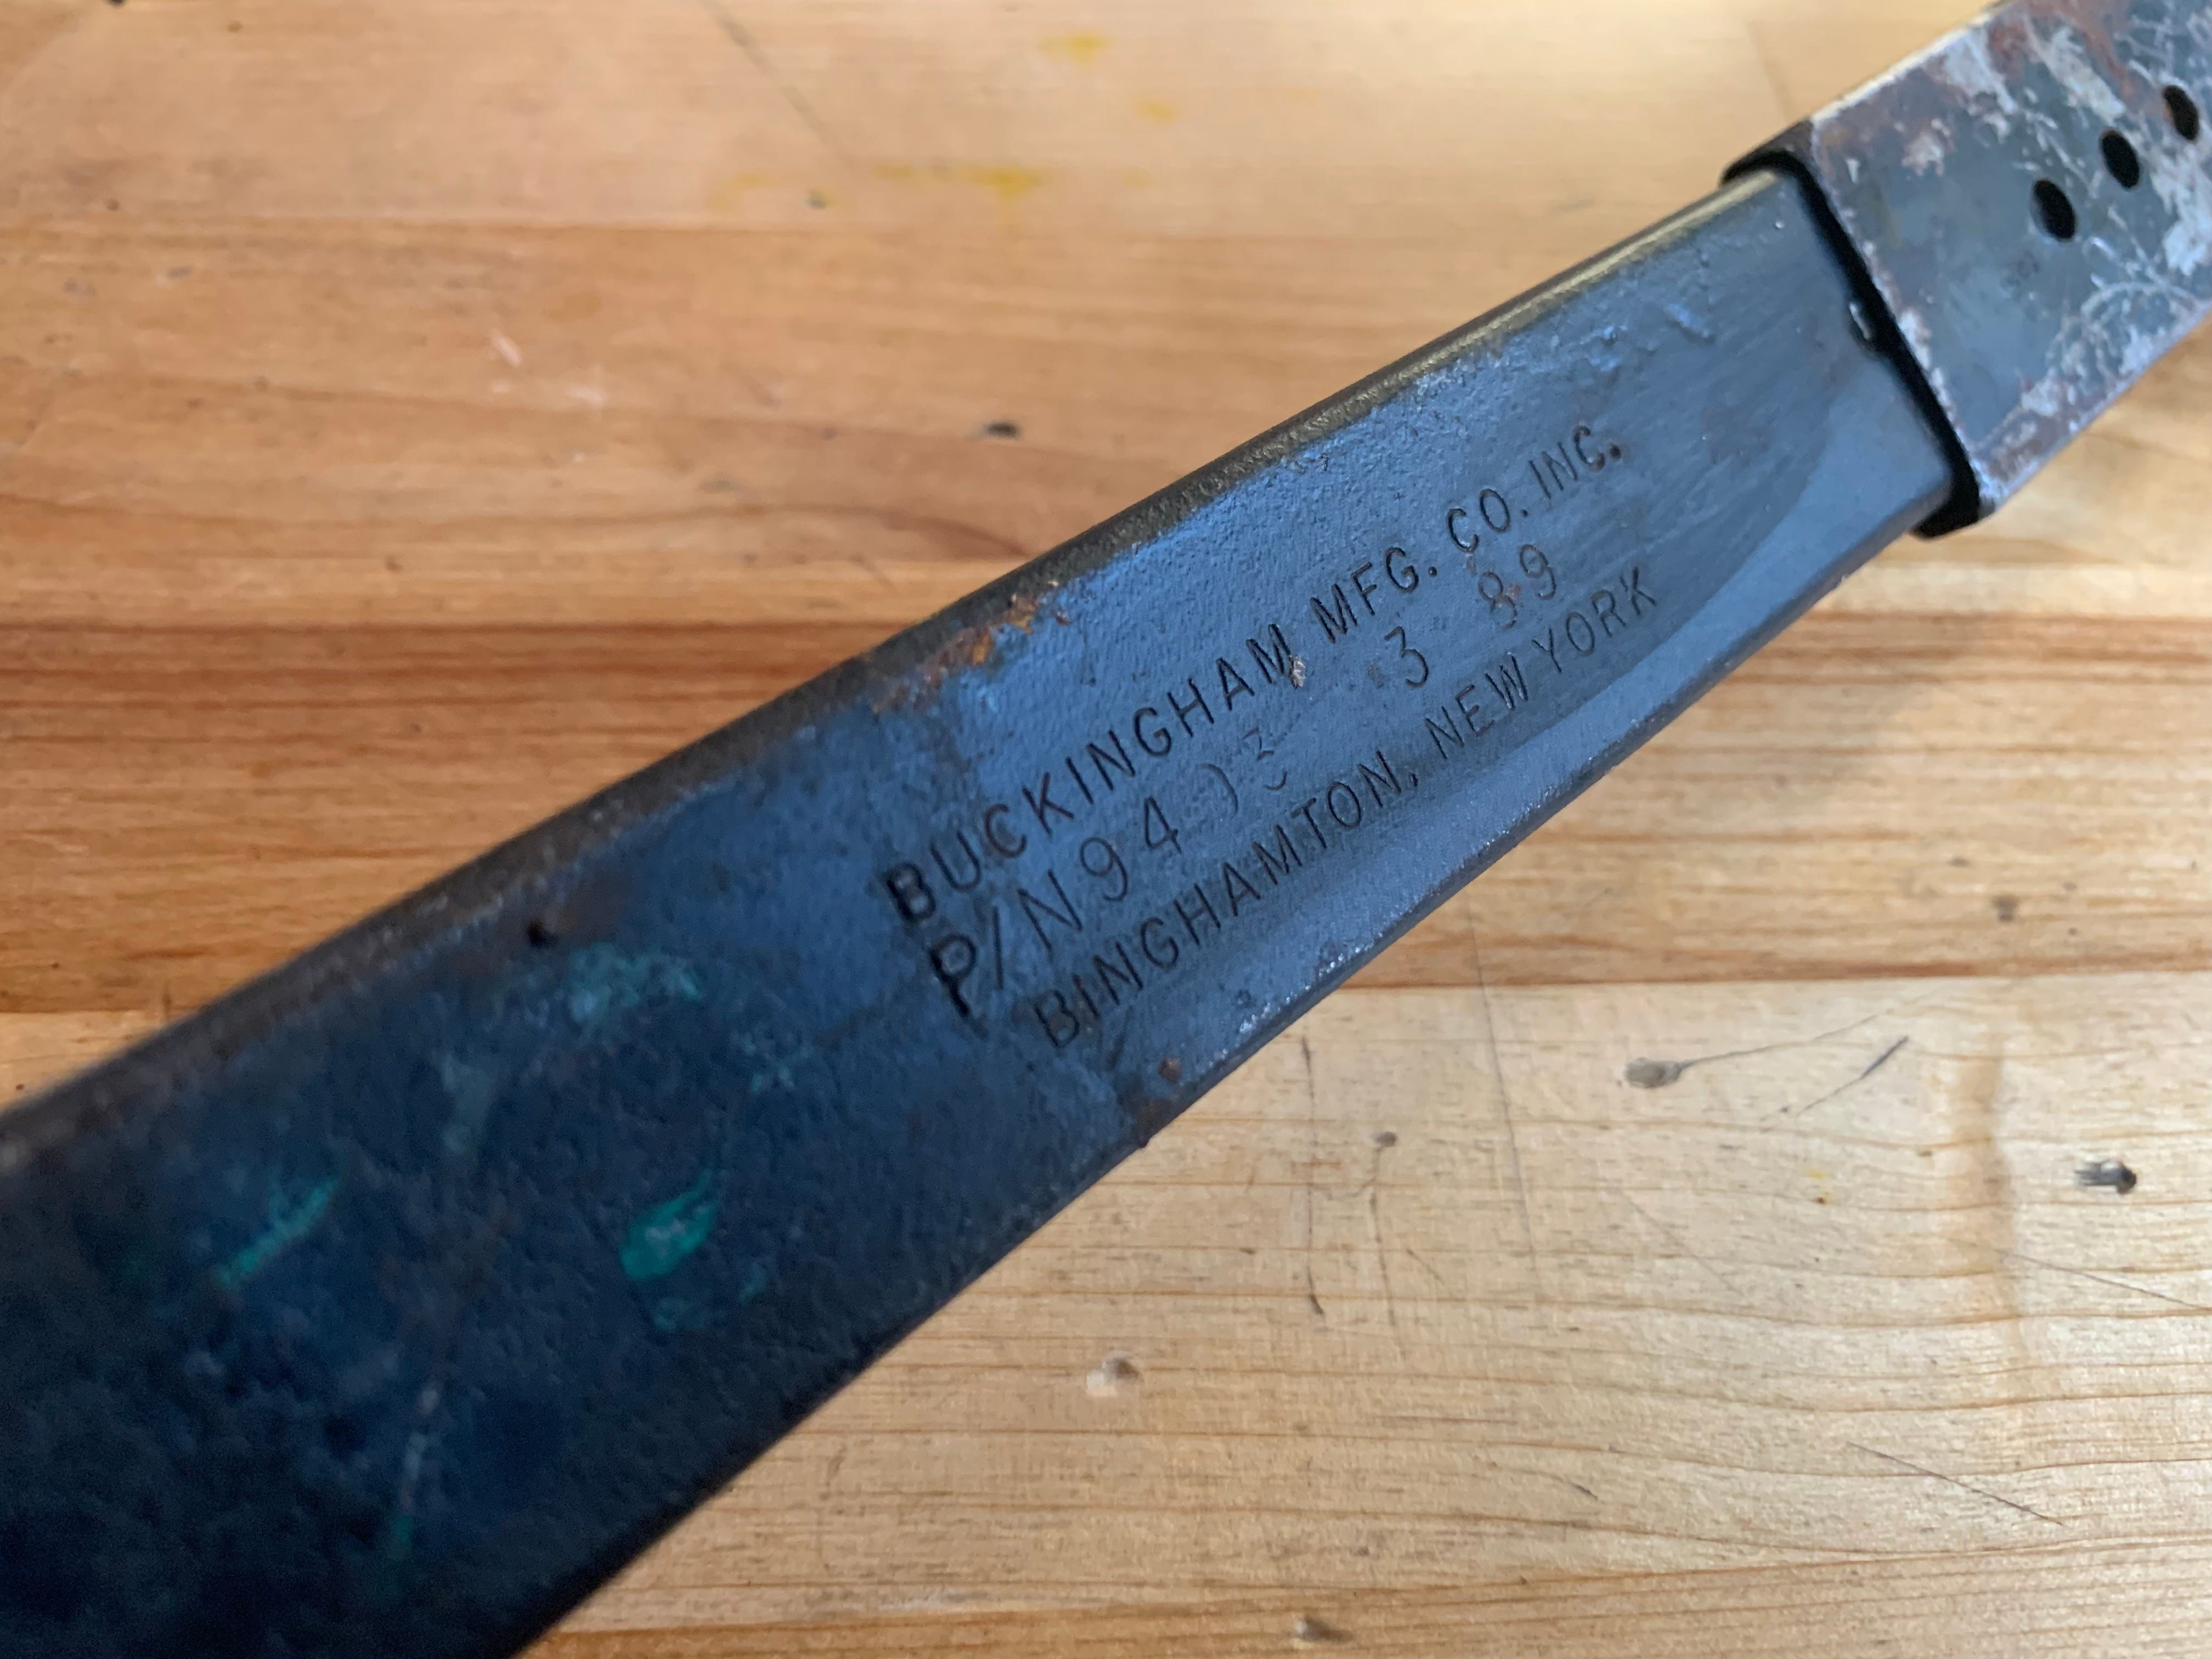
Buckingham are a respected US company who make work gear. They are especially known for their “linesman” and “arborist” work equipment. A linesman is someone who works up a wooden telegraph pole with some kind of wire. An arborist also works up a wooden structure, hence the company cater to both audiences. A new pair of Buckingham spurs would cost me close to £600, so when I saw these vintage ones on eBay, I had to win them because frankly, there’s not enough money in the war-chest to get a new pair. And that’s how I ended up with a 1989 vintage pair of Buckingham spikes.
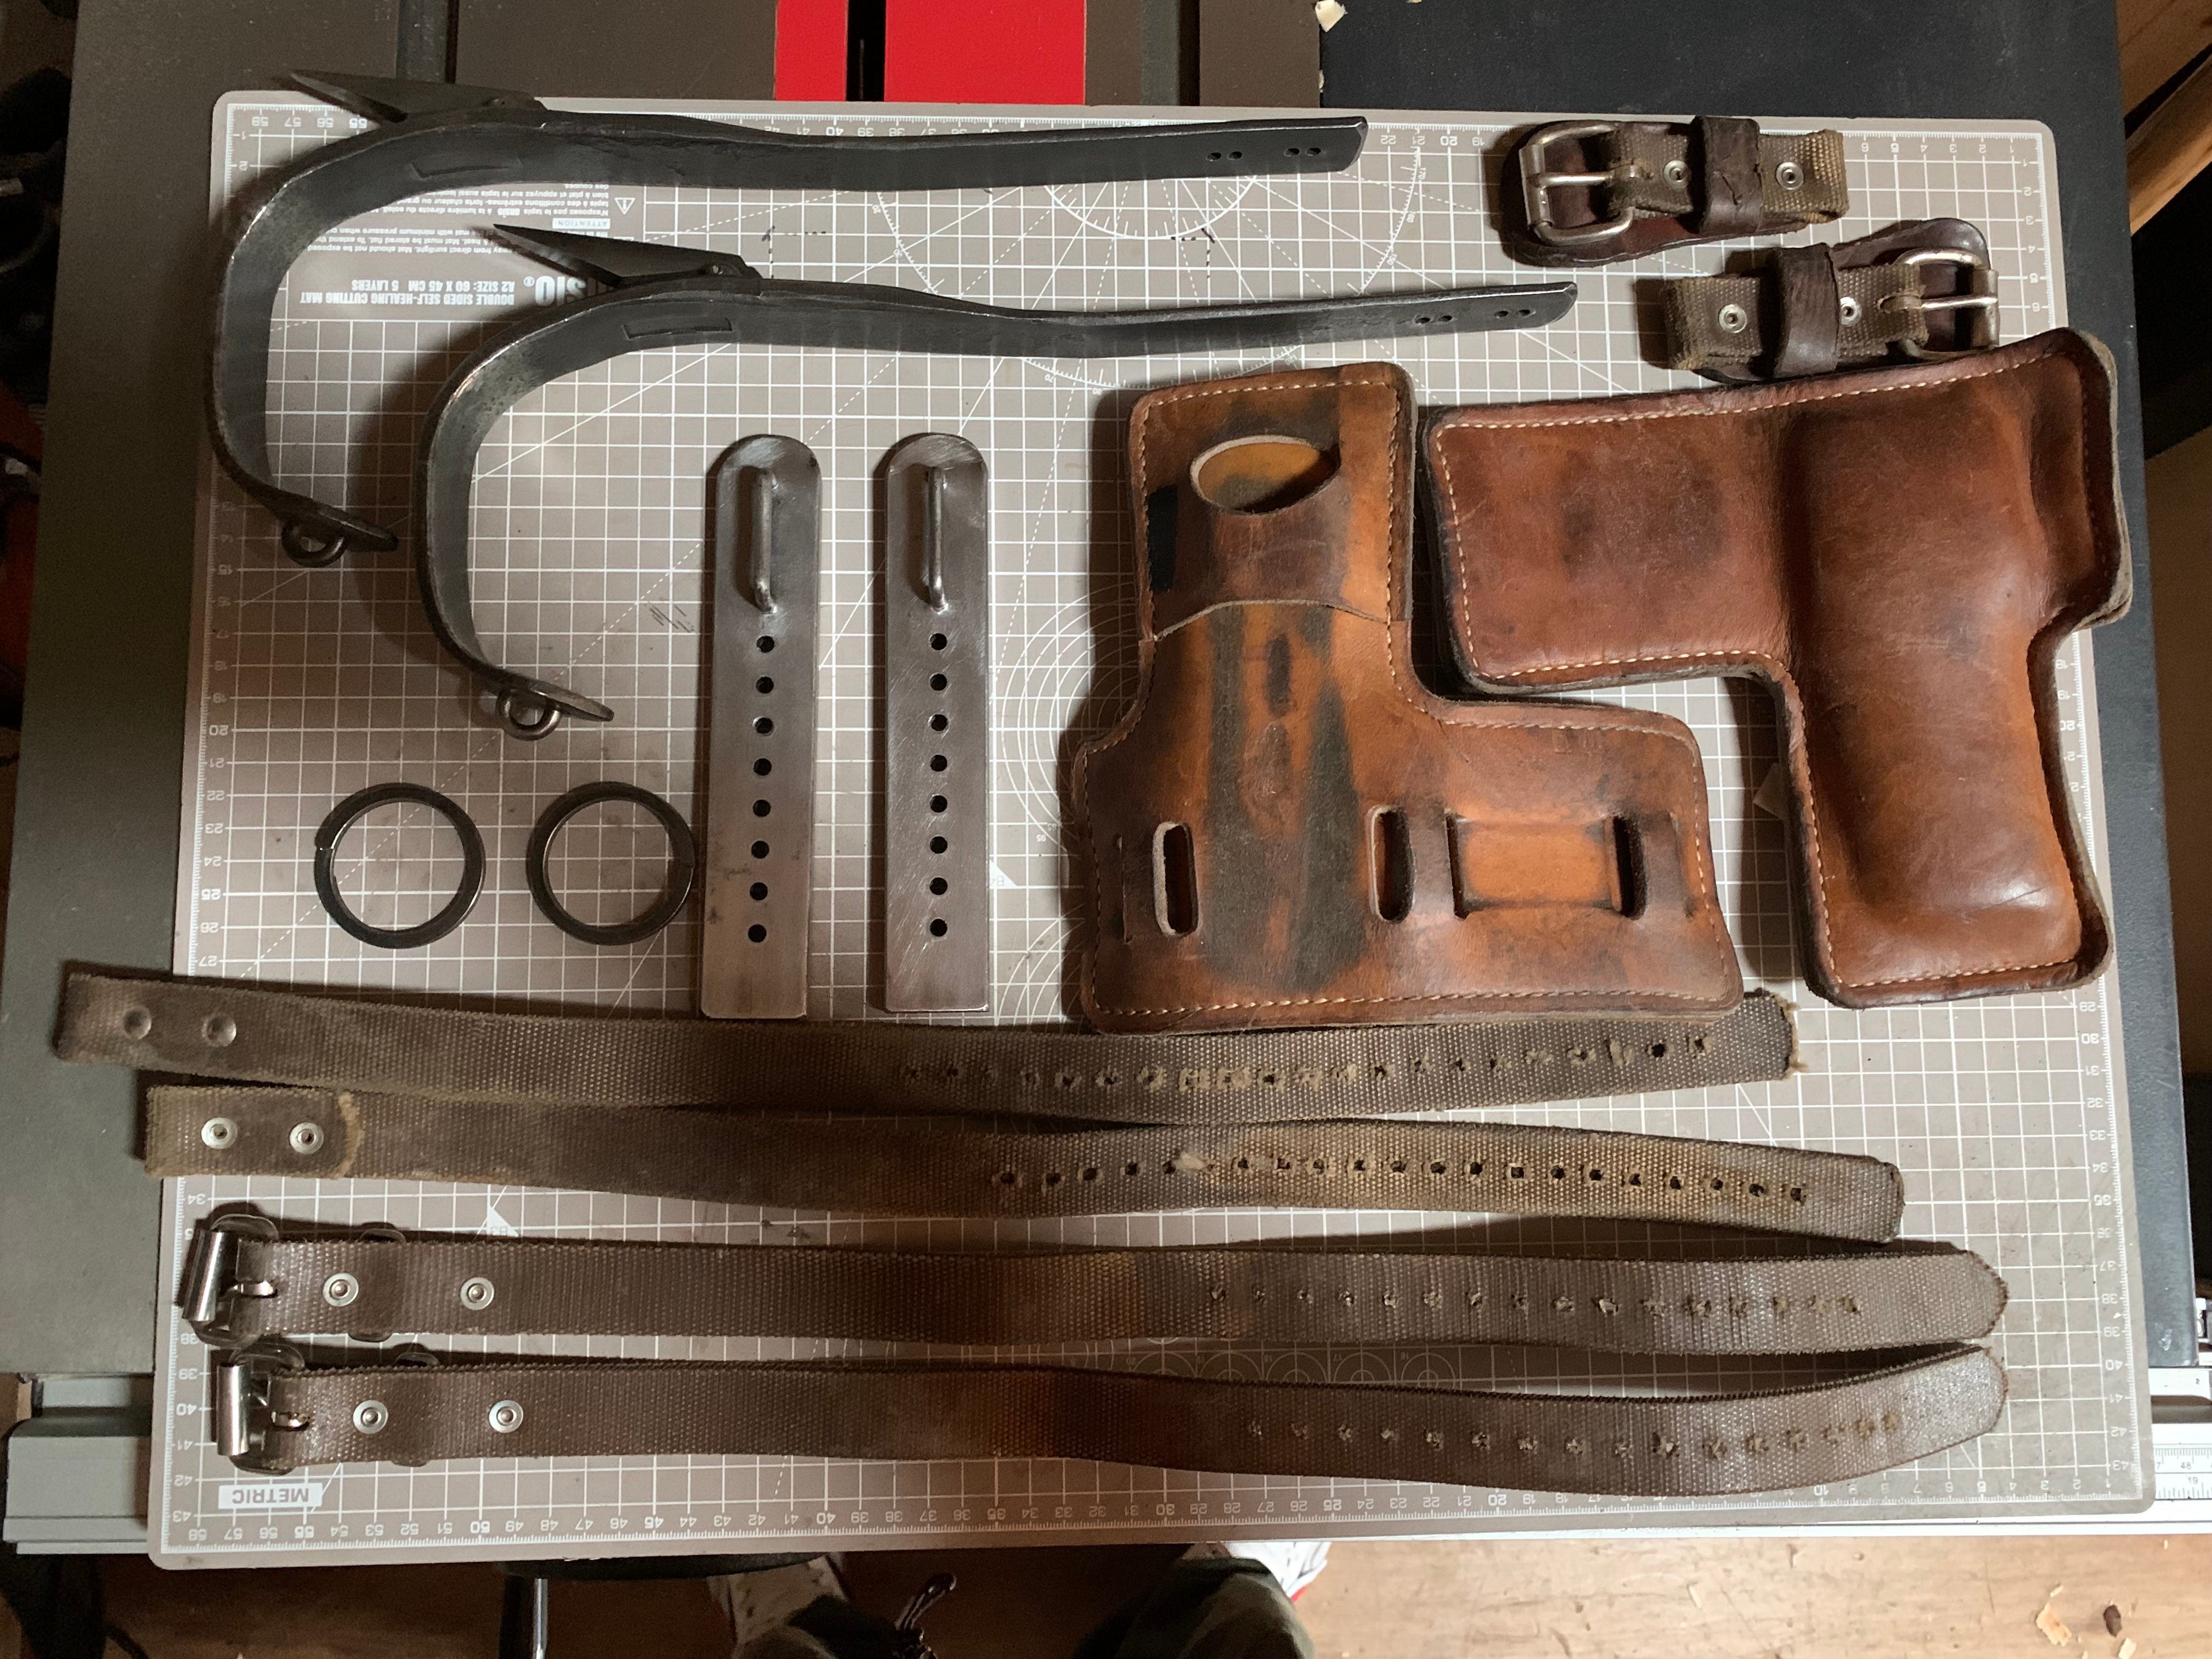
I could have put them straight to work as they were when they arrived, but I wanted to breathe some new life into them. The leather was dry, the metal was rusty and generally they needed some TLC. So I set to work. The first thing I wanted to know was if I could order spare parts for these so I contacted the company. I sent the email at 15:32pm. Amazingly, by 16:10pm I had received a response from a human that answered all of my questions. I just want to pause for a second and dwell on that. To the company, I am not a customer, I have not bought a product and yet, I have received a full response in less than 45 minutes. Sadly, the product is discontinued (it is nearly 35 years old so that’s fine), but there were good enough to point me to currently compatible items.
Getting back to the spikes – at this point it was January 2023, and I had every intention of renovating the spikes as a priority and making a video of it. That never happened. It was amongst the first footage that I shot and it was just awful. Wrong video settings, no mic, bad light. Here’s snippet if you don’t believe me.
My video gear is basic at best and I don’t yet have the chops to pull of restoration videos. Yes, you could say a bad workman blames his tools, but frankly the data I have on my videos suggests strongly that I’d experience more impact throwing a penny into the River Tyne in order to make it deeper. So the video stalled and hence the restoration stalled.
Until May, when I suddenly found myself very motivated. I think it was Spring that did it but whatever it was, it got me well and truly going again. First up, I had to clean up every single bit of metal. That took lots of sanding, lots of wire brushing and lots of skin off my hands.
The first order of business was the leather. It drank up the dubbin like you wouldn’t believe. Then it was the metal. I could have stayed with the classic black of blued metal, but I don’t really have the facilities here to do a solid bluing. So I opted to blue just a small section of the metal shanks - the manufacturers mark. For those that don’t know, bluing is a process in which you deliberately oxidise the surface of metal. It’s like a super fast rust that leaves a protective black coating. Some think the black is a little blue and that’s where the name comes from. To do it properly you need heat and a forge, but I don’t have that so I opted for a liquid blueing.
I started by masking up the area I wanted to blue and went through the process of removing the existing bluing as much as I could using super strong acid, then I neutralised and cleaned it up.

Finally added a new blue layer and removed the masking tape. The light actually makes the area I’d just re-blued look worse than it was before. It looked better in real life, you had to be there in person. Honest.

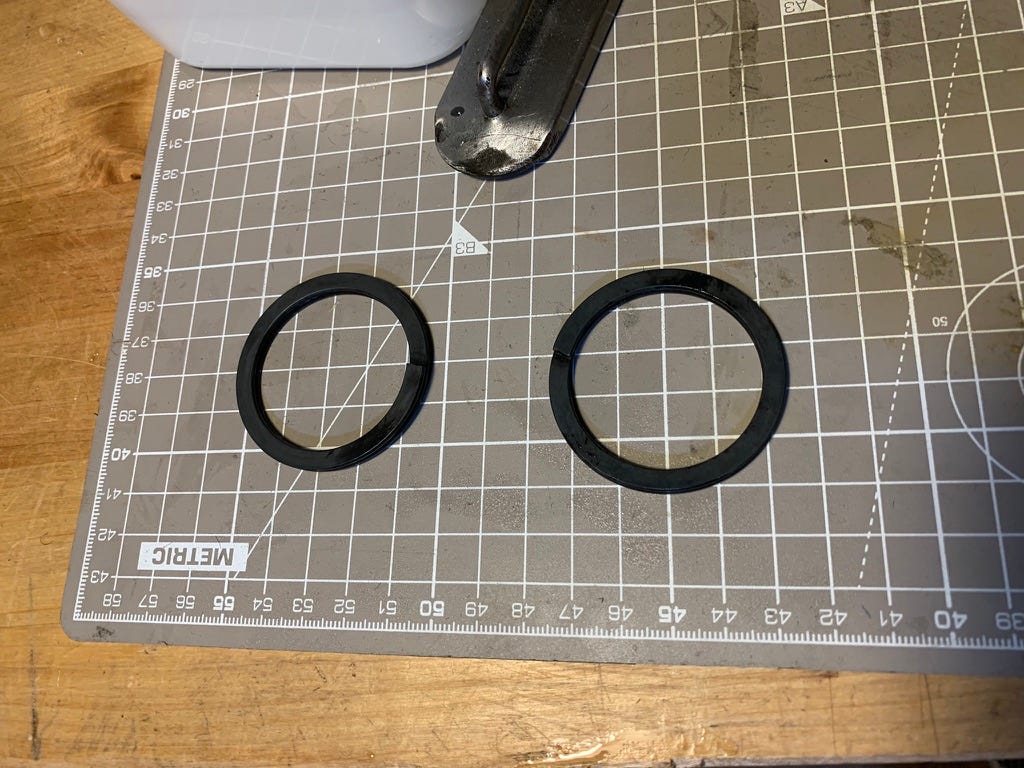
You can see the process better with the rings. Same process as above but in these photos it actually looks like it worked. Here is before:
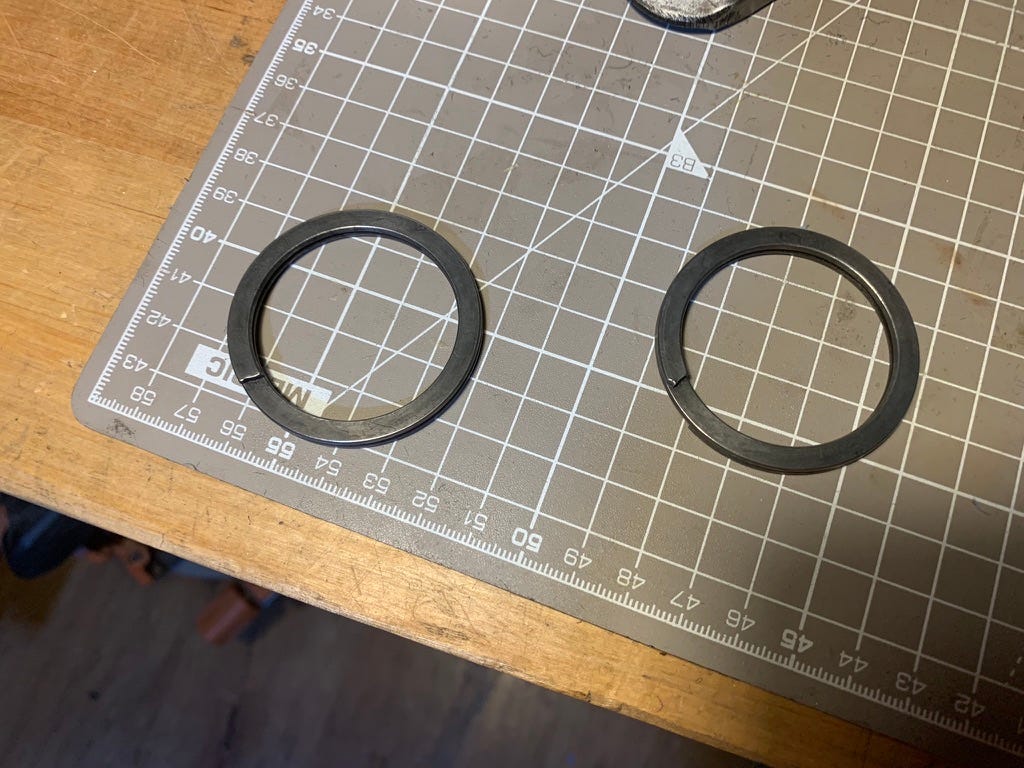
And here is after - see - much blacker.
Next up was four coats of primer with a red oxide. These things are going to be getting battered in elements, so they need to be protected. I left about three days between coats and in took about two weeks in total to get the primer on. Maybe this was excessive. Probably, but I don’t care.


Finally, I was able to paint them into their final colour - Treedom yellow (that’s #ffeb21 for all you who understand hexadecimal). I used hammerite and I expect I will live to regret the decision. Again, it took about four coats and I left a two days-ish between coats.
Finally, I could put them back together.
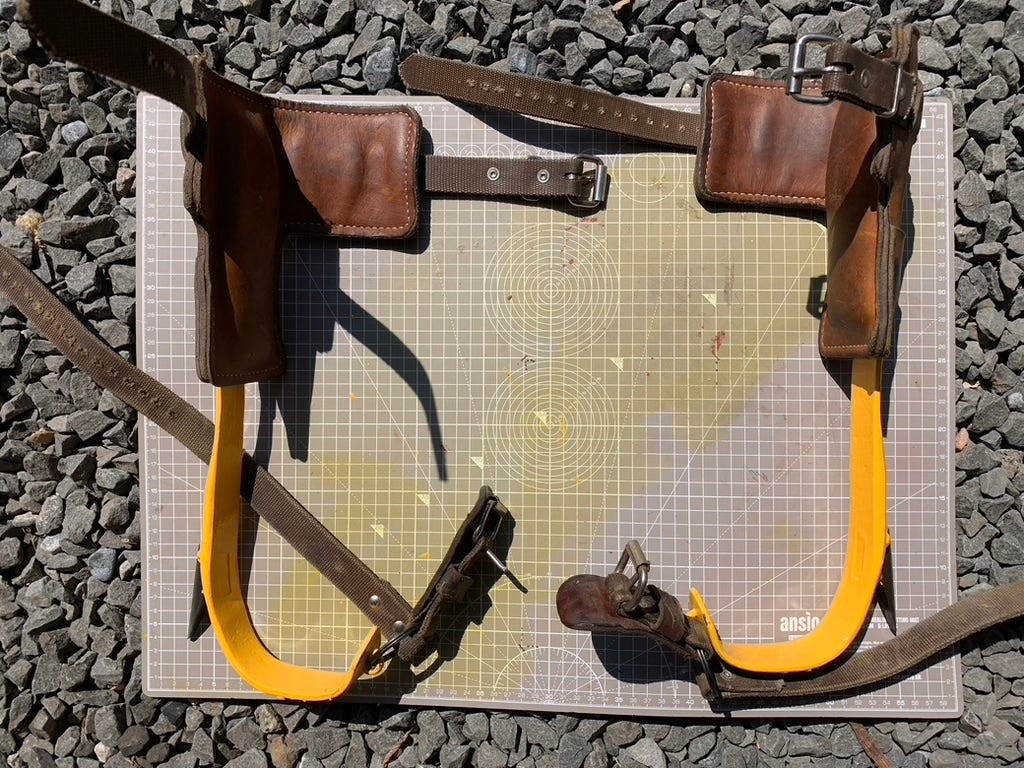
There is no mistaking who these belong to. That’d be me, the over branded newbie with all the gear :)
I actually had a little job for these spikes…
I’ve yet to use them for any extended period of time or at any real height, so I have no way of knowing how comfortable they’ll be. But one thing I can be sure of is that they’re solid enough to last me for as long as I need them to. If I replace them in the future then I’ll be doing for a reason other than “I need a good pair”. When all was said and done, for the bargain price of £88.42 I landed myself a bargain pair of quality climbing spikes. The cost to me was the four months it took me to pull my finger out and restore them to a point where they’re going to last the duration.
Thanks for reading.
Jamie